Pattern inspection
Length measurement inspection system
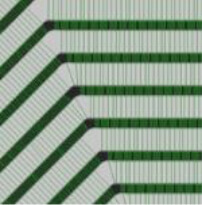
In the length measurement inspection system, by “measuring” all the wiring, it is possible to recognize the tendency of completion and extract only the defects that you want to detect.
Advantages of length measurement inspection system
The shape comparison inspection consists of not inspecting manufacturing variations. The length measurement inspection system recognizes the tendency of wiring to be completed by “measuring” everything, and can extract only the results you want to detect.
Subpixel calculation
The original sub-pixel calculation enables measurement below the imaging resolution.
No excessive resolution is needed.
Measured value output
Since the measured value of wiring can be displayed and output, it can be used not only for inspection but also as production data.
Hole inspection
All hole measurement inspection
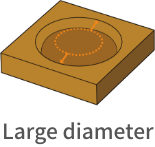
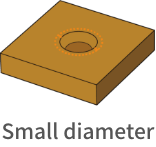
It is possible to measure all hole diameters by using the length measurement inspection system. The shape is recognized and inspected from the hole diameter information obtained by measuring in a radial pattern.
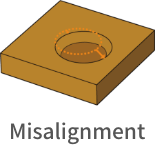
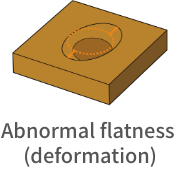
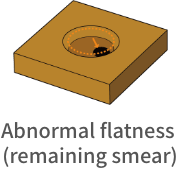
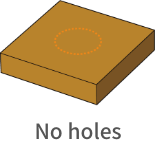
Flexible support for hole shapes
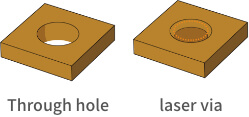
The appearance differs depending on the hole such as through hole and laser via, but inspection can be performed for both. Laser vias can measure both top and bottom.
Measured value output
Since the measured value of the hole can be displayed and output, it can be used not only for inspection but also as production data.
Pattern matching inspection
Grayscale matching
It has a pattern matching algorithm that compares the brightness difference on a gray scale. A length measurement inspection system is applied to the wiring and holes, and pattern matching is applied to other parts, and inspection is performed by these two parallel processes.
Pentagon System
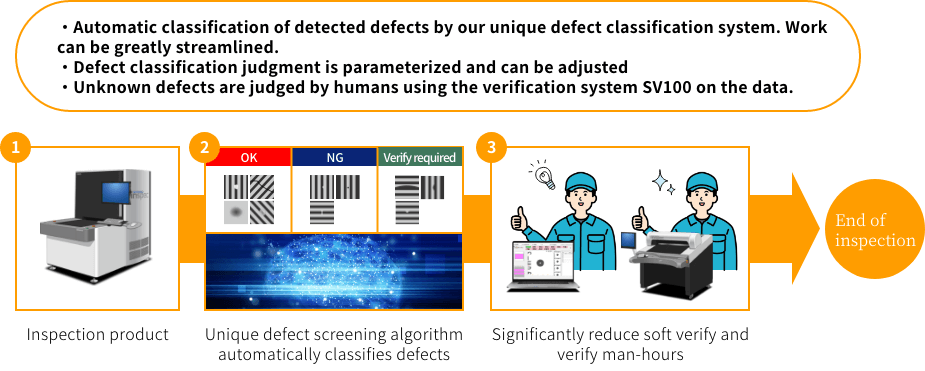
Unique defect screening algorithm automatically classifies defects
Traditional inspection
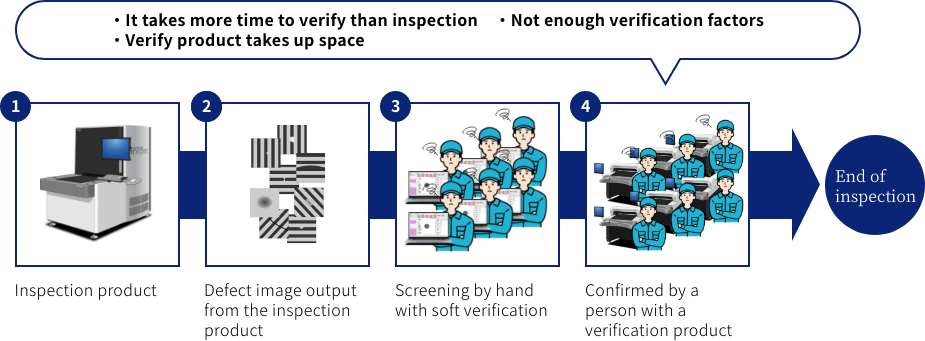
With Inspec technology
